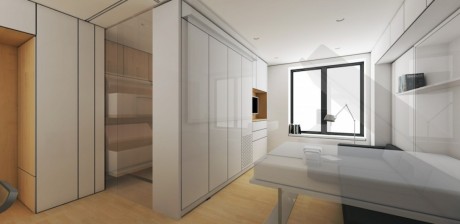
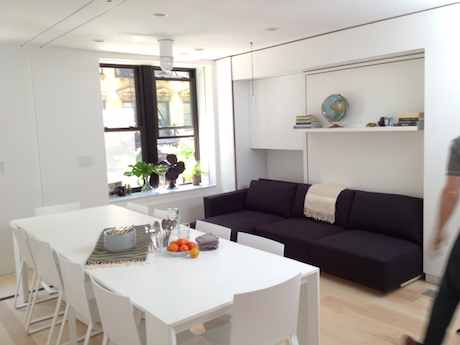
Solar Power in LifeEdited Apartment by Voltaic Systems

In the coming months, we will be highlighting products and services we use in the LifeEdited apartment. Today, we’re looking at our solar powered lighting and charging system by a company normally known for their portable solar chargers, Voltaic Systems. This post originally appeared in Votaic’s Blog

We have been working for some time on our latest product, the USB Touchlight. This is a super bright, USB-powered LED light, designed to run from our solar batteries.

When our good friends at LifeEdited asked us to set up a mini solar system for their innovative 420 square foot New York apartment, we jumped at the chance to put the Touchlight into action. We installed a 13 watt solar system discretely mounted on a ledge outside the apartment, feeding two of our V39 USB batteries with enough power to feed an iPad, phone, a couple of our Touchlights, and other USB devices. It proved invaluable recently when the apartment was blacked out during hurricane Sandy.

Many of our customers are interested in using our kits for similar applications and have asked about installation.

Here is how we did it. We essentially used 2 of our 6.8-W kits:

1 x Touchlight
4 x 3.4W 6V solar panels
2 x V39 39-Wh batteries
1 x 4-panel 6V/12V circuit box
1 x panel extension cable
Various connectors
1” aluminum strip

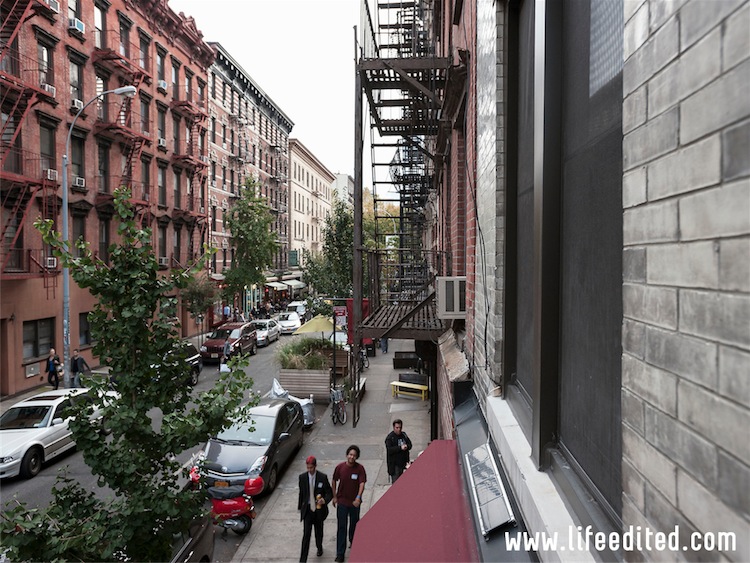
Panels: Being a New York City apartment, outdoor space was limited to a small ledge of metal flashing below the window sill about 5” wide. We configured our 3.4W panels end-to-end longways so they would fit. We opted to use four panels because the light exposure is pretty limited, only about 2-3 hours of direct light per day.

Given that our panels come with threaded bolts for mounting, we used two long strips of 1” wide 1/4″ aluminum as the foundation. We lined up the panels and marked off the locations for holes on the first strip, then drilled 1/2” holes (big enough for the nylon nuts to sit inside).

After attaching the panels to the first strip we repeated the process for the other side to get two strips holding all four panels in place.

We could have just secured the strips directly to a substrate, however we didn’t want to screw into the flashing (since that would undermine its waterproofing), so we took the additional step of attaching two strips of aluminum U-channel (3/4” each side) which provided a flat even surface to secure to the flashing with silicone. This created a space under the panels for the circuit box and wires, reduced the likelihood of water backing up, and makes it easy for us to remove the panels for service without having to cut the silicone connection. The U-channels were cut to length and attached with self-tapping screws to the 1” strips.

Panel Installation: With that done, we were ready to install the solar array on-site. We hacked one of our 4 panel circuit boxes, and attached the output wire to some electrical wire. We then fed the wire into the apartment through an existing hole in the window frame. Our 2 panel circuit boxes could be used here (with two 6.8W kits), but the 4 panel option was cleaner.

We then connected each panel to the input of the circuit box (having checked that each panel worked individually and provided an output to a battery). We then used small sections of silicon tubing to waterproof the connections. All of this fit nicely behind the panels inside the frame.

From there, it was just a matter of actually securing the rig to the flashing. We applied a thick bead of exterior silicon to both of the U-channels, secured a wire safety line to catch the rig in case it came loose, and pressed it into place. We then added some strips of masking tape to keep it in place while the silicon dried.


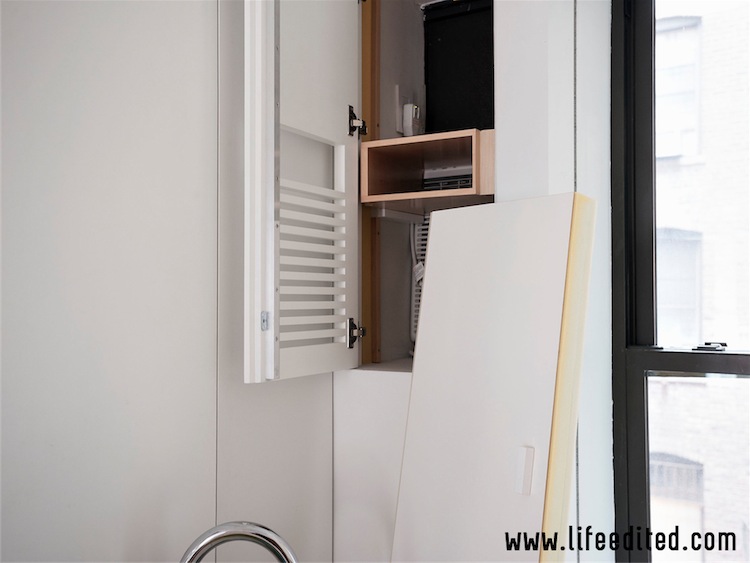
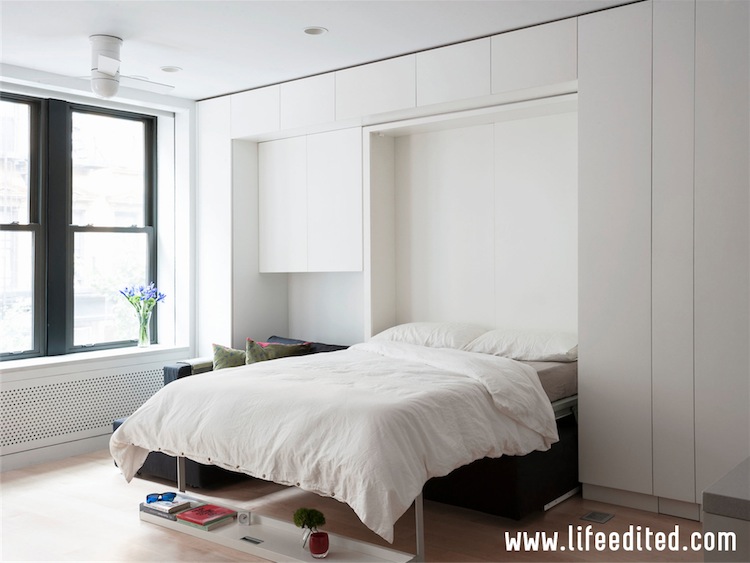
Batteries: We decided to run the four panels to the two V39 batteries wired in parallel, so that one wire from the panels was split to go to both batteries. That way, whatever power was generated by the panels would go to whichever battery could absorb it. From there we would run wires to the lights. We hacked a couple of our 3 or 4 panel circuit boxes to get 5.5×2.1mm male plugs and joined these to the copper wire we had fed through the window frame. This could as easily be done with the “power out” wires from our 2 panel circuit box and a 5.5×2.1mm adapter. We connected the plugs to the batteries and saw the LEDs on the batteries light up indicating they were charging and the circuit was good. The Life Edited carpenter later made a custom nook for our batteries inside the closet by the bed, which seemed the right place for charging a phone or tablet.


Lighting: The walls were open so we had the opportunity to run the wire to our Touchlight to the ceiling over the bed. We hadn’t really contemplated this sort of installation in the design, but it was not too difficult to pull together some parts from the lighting store to make a mount for the plug. We tied a knot in the end of the wire, fed it through a threaded rod, and held it in place with silicone inside the rod. Then we screwed the rod into a bracket also from the lighting store. There are many ways this could have been done, including a simple hole through the ceiling with the wire coming through. In this case we wanted the threaded rod so we have the option of removing the light and wire (the moveable wall in the apartment is very close to the ceiling), and of mounting a more complicated hanging light fitting. To test, we made the connection with one of our adapters (3.5×1.1mm to 3.5×1.1mm)


Thanks to LifeEdited for inviting us to contribute to their ultra-efficient living space. It was a lot of fun and is a great example of how solar can be implemented on a small scale in even the most space-limited locations.

The Hottest Product in the LifeEdited Apartment

In the coming months, we will be highlighting products and services we use in the LifeEdited apartment. Today, we’re looking at the Fagor 1800W Portable Induction Cooktop.

Cooktops and ranges have gotten out of hand lately. Professional-grade models with 5-6 burners have become a must for the modern kitchen. These costly appliances make a lot of sense if you’re running a restaurant, but for most of us, they’re overkill. In choosing a cooktop for the LifeEdited apartment, we wanted to match up our cooktop with the way it would be used. We also wanted something very energy efficient.

Based on their efficiency and sleek profile, we were led to induction cooktops. Since they heat the pot, not cook surface, 90% of the heat is transferred to the cooking implement as opposed to 50% for conventional gas and electric cooktops. And added benefit of this process is the cooktop stays cool.
Wikipedia explains this magic process (lucky for us):

In an induction cooker, a coil of copper wire is placed underneath the cooking pot. An alternating electric current flows through the coil, which produces an oscillating magnetic field. This field induces an electric current in the pot. Current flowing in the metal pot produces resistive heating which heats the food. While the current is large, it is produced by a low voltage.

Not only are they more efficient, but the burners are as much as 50% faster than standard burners because the transmission of heat is so direct.

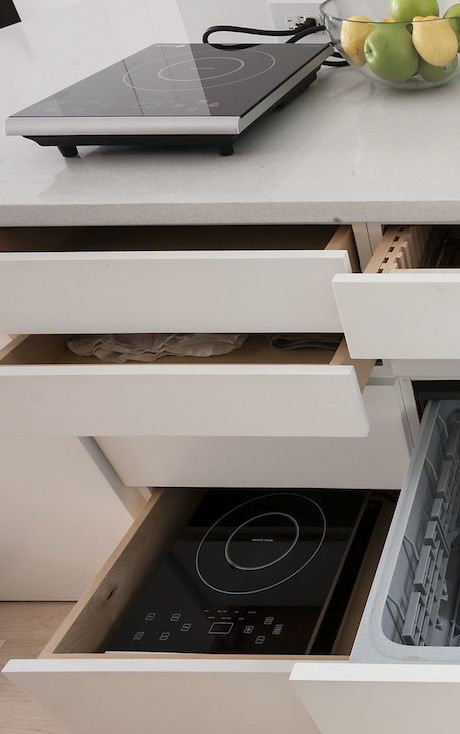
We considered a number of induction models, eventually opting for the Fagor 1800W Portable Induction Burner. At 1800 watts, they provide comparable heat of conventional gas and radiant electric burners, all while using a standard 110V socket. This was important since we didn’t want to sacrifice performance for the sake of convenience and aesthetics, nor did we want to install high-load electric outlets. We’ve been very happy with their performance–they can boil a large pot of water in about five minutes.

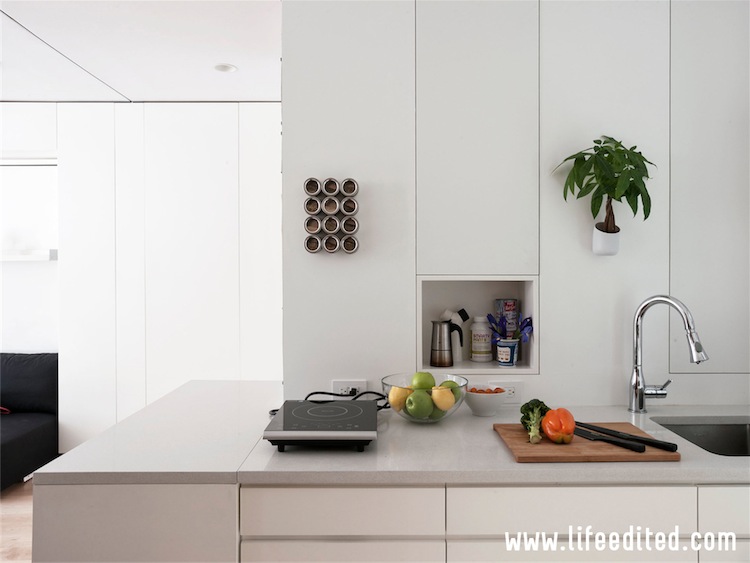
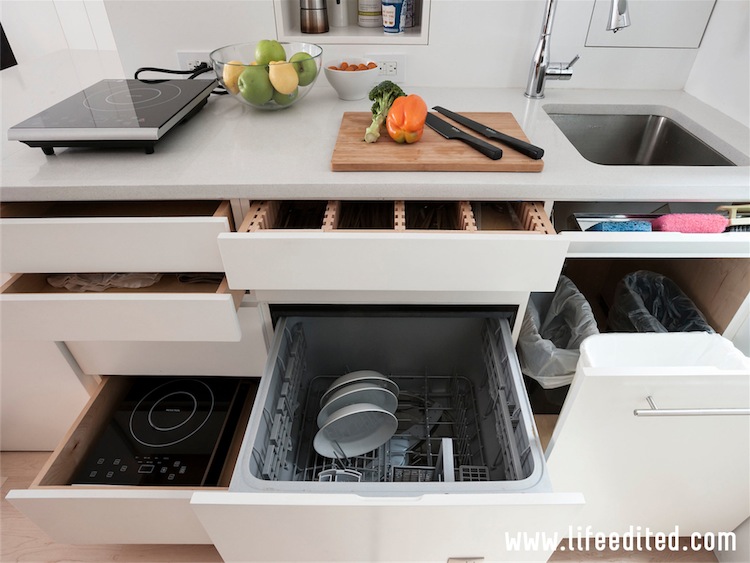
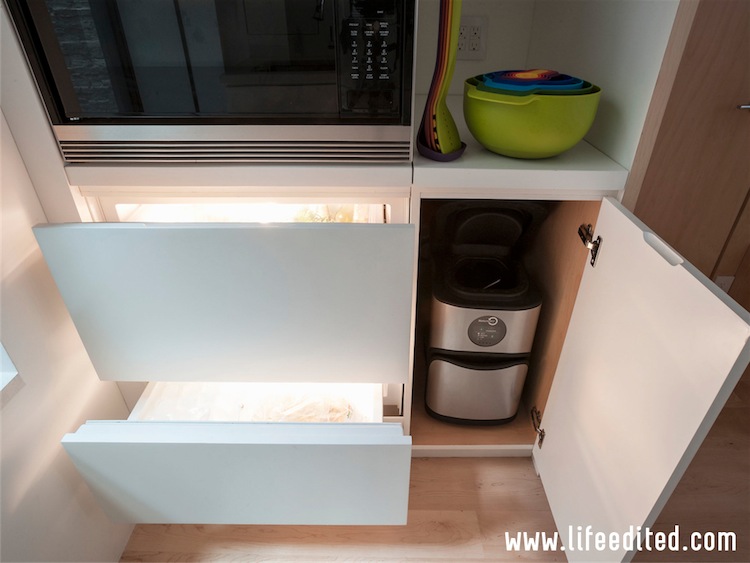
The burners can be stowed away, which makes the kitchen look less kitchen-y–something important in a small space where visual clutter can shrink a room. They give us the flexibility of using the burners wherever we need them, which is nice in a small kitchen where two can be a crowd. We can use as many or as few as we want at a time; typically, only one is out on the counter at a time. We have three total, which stow away in a drawer (see below).

fagor-lifeedited-apartment

The biggest drawbacks of the burners is that they require ferrous cookware such as stainless steel and cast iron. There are converters available, which enable any type of cookware to be used, though that turns the burner into a radiant surface and negates some of the efficiency. The seven heat settings don’t provide the same fine tuning of a knob, though this has been more of a learning curve issue than a real culinary challenge.

We found the Fagor units on Amazon for $150 each. If you are building a new kitchen–particularly a small one where flexibility is crucial–or find your current cooktops aren’t cutting it or you like traveling with your kitchen, these are a great option.

Check Out CO: LifeEdited’s Entry for the adAPT NYC Competition

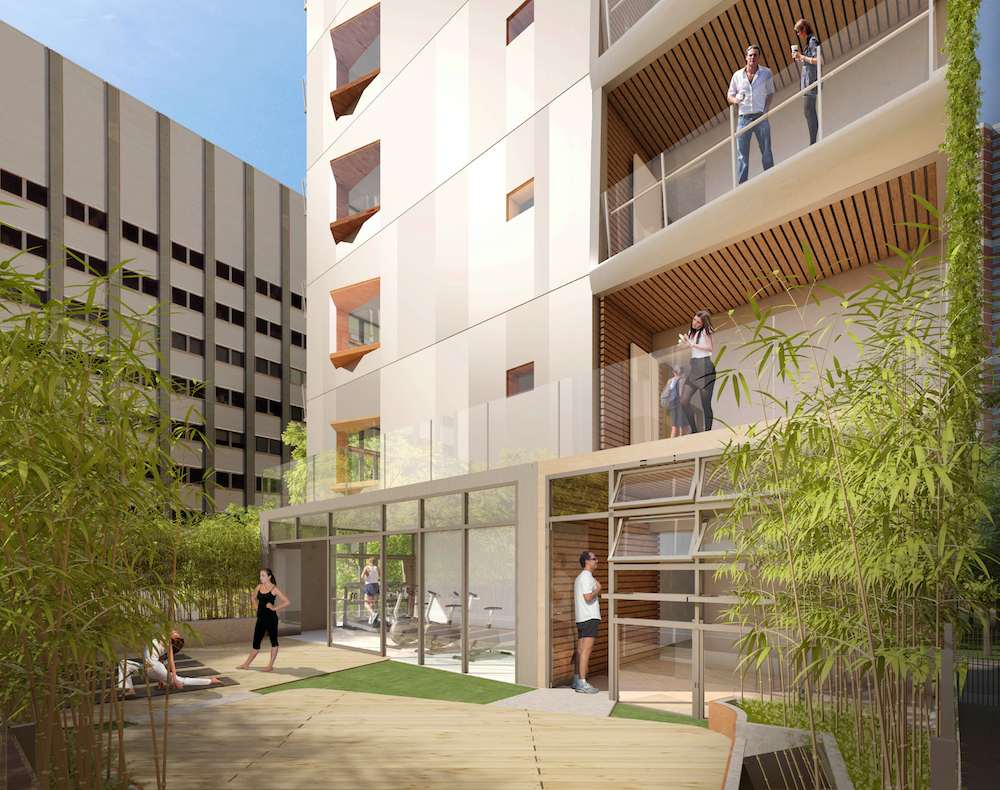
LifeEdited, as part of a team with Jonathan Rose Companies, Curtis + GinsbergGrimshaw and Scape Studios, was honored to be chosen a finalist for the adAPT NYC Competition. Our design was called CO: Compact, Connected, Complete.

To break down the division of labor: As New York’s preeminent green real estate developer, Jonathan Rose Companies handled the development aspect of the project; Curtis + Ginsburg and Grimshaw were responsible for the building’s architecture; Scape was responsible for landscape design; and LifeEdited did the apartment interiors and a few other aspects of the overall design.

Grimshaw explains the overall architectural layout of the building:

The massing has four components: ground floor retail; micro-units; social and community spaces; and a northern circulation spine. The apartments feature south facing windows and private balconies angled toward the park. Indoor and outdoor communal spaces are sprinkled throughout. The south façade emphasizes light and air for each unit while the east and west facades serve as bookends that bring ample light into the corridors on every floor. The north façade features a green wall system and large windows to bring light into the stairwells.

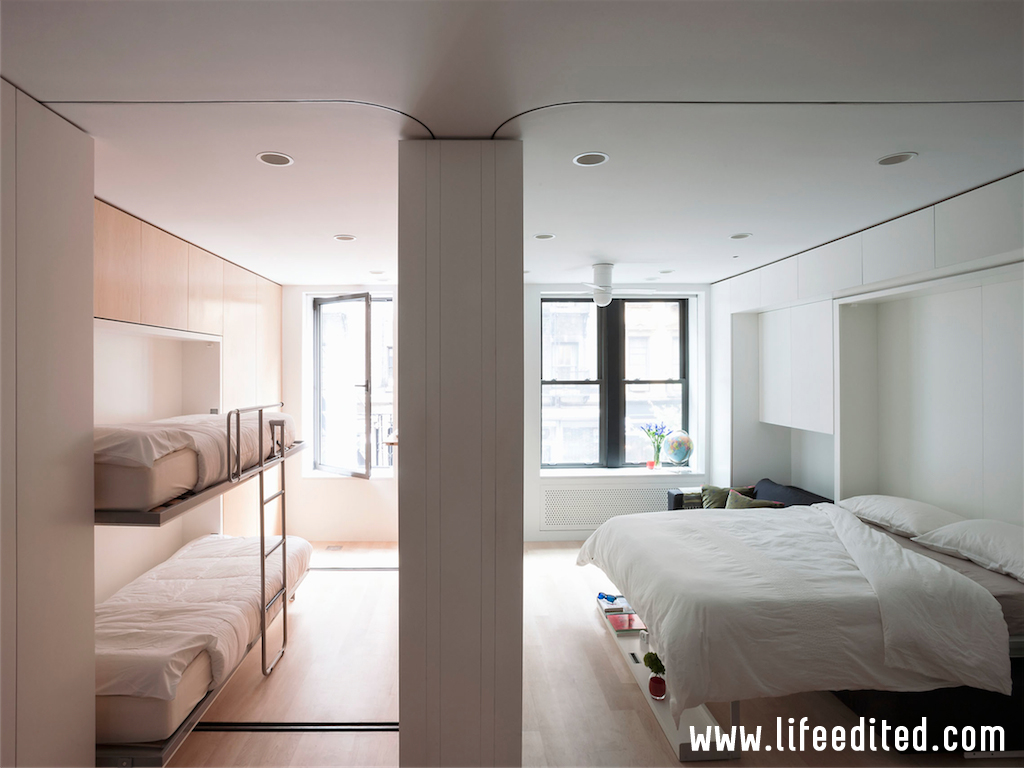
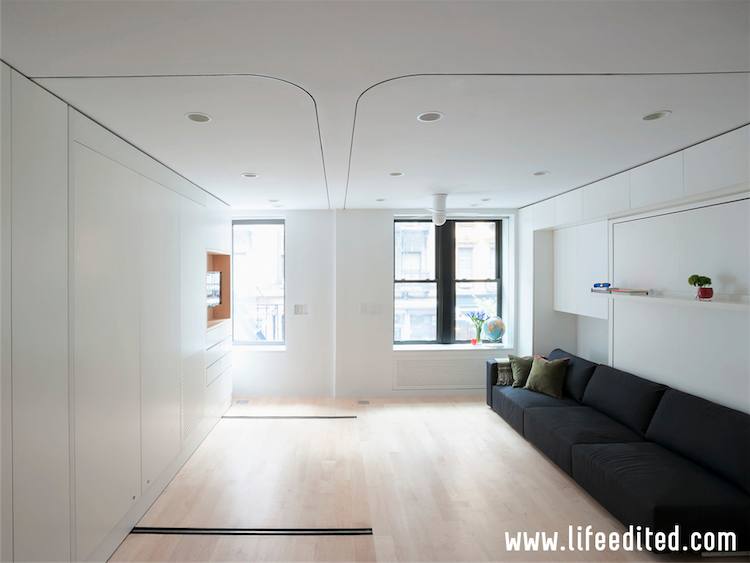
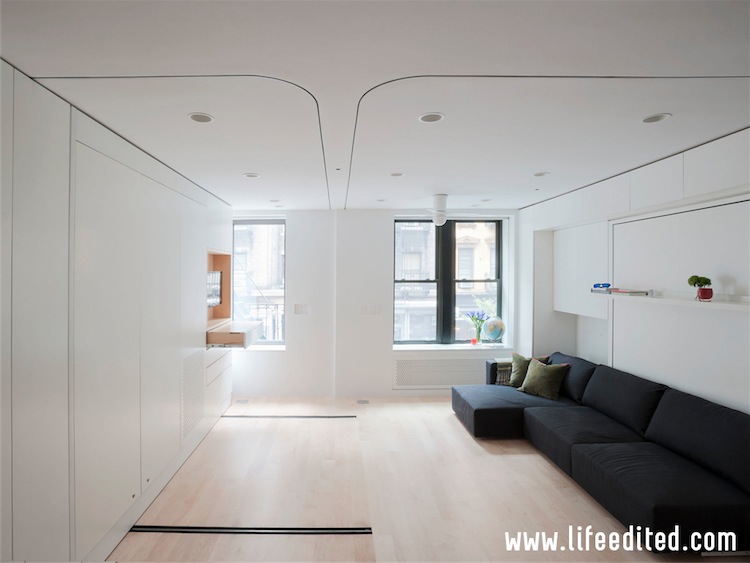
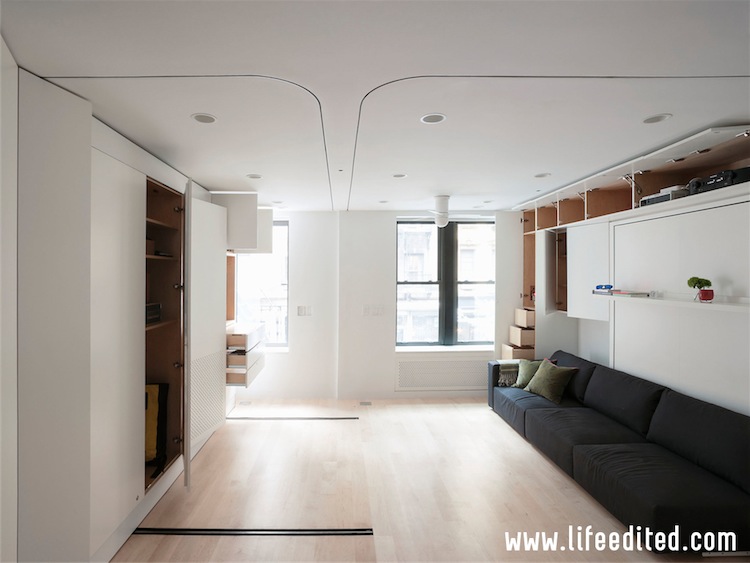
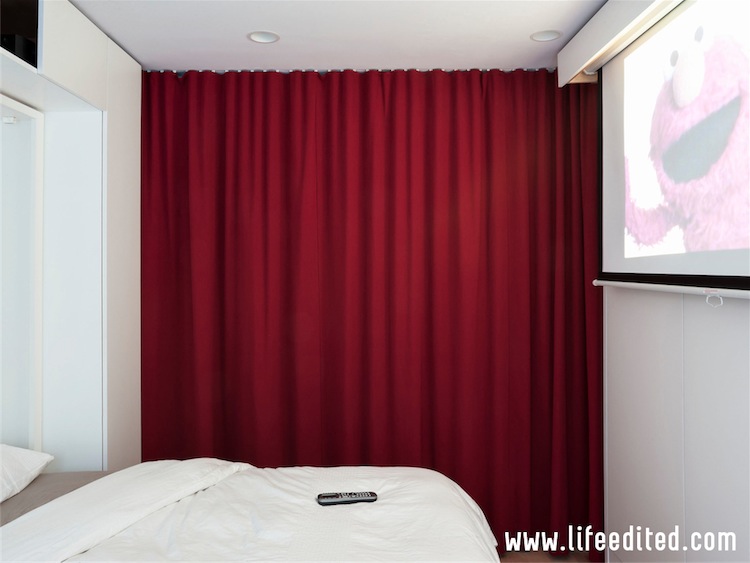
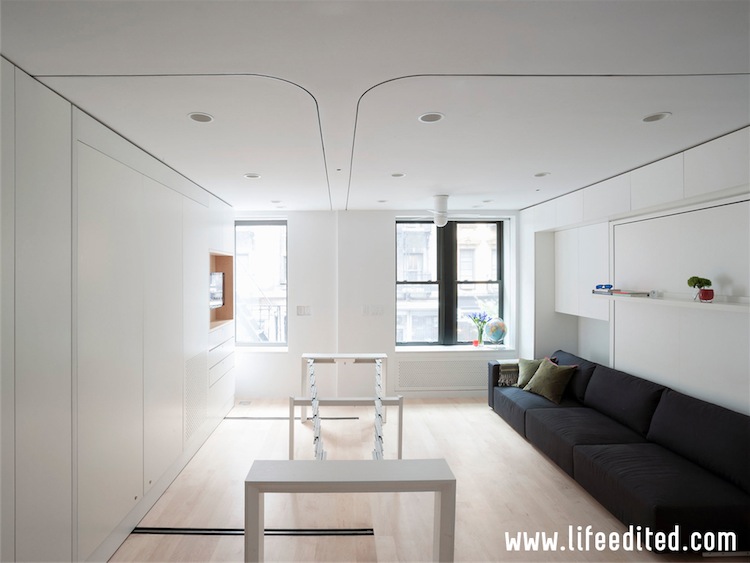
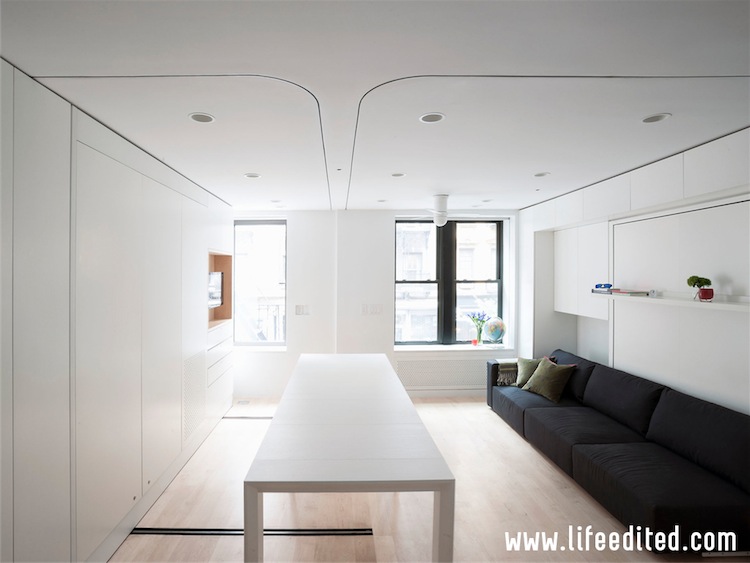
The interior was designed to function as living room/lounge, bedroom and office. The video below shows the “semi-furnished option” which is outfitted with the Resource Furniture Atoll 000 bed/sofa and Paso table; the latter piece converts from coffee table to dining table for eight. We gave it triple duty by making it part of the workspace.

The building features a “Product Library” where residents can check out items like extra chairs and bulky, not-so-frequently-used items like a stock pot. Other cool features of CO included large terraces and rooms shared by the whole building and a “Potluck Restaurant” where residents could make impromptu dinner parties (or lunch parties we suppose).

The goal of the project was to create a compelling and livable micro-apartment building–and one that could be realized in New York City in today’s real estate climate. Having been chosen as finalists amongst a deep and very talented pool of competitors, we think CO achieved those ends. We were very happy with the end product and though we did not win the competition, elements of CO will sure find their way into future projects.

What do you think of CO? What worked? What didn’t? What more would you add? What would you take away?

Chair Marries High Design with Space Efficient Design

In the coming months, we will be highlighting products and services we use in the LifeEdited apartment. Today, we’re looking at the Eco chair by Voxia.

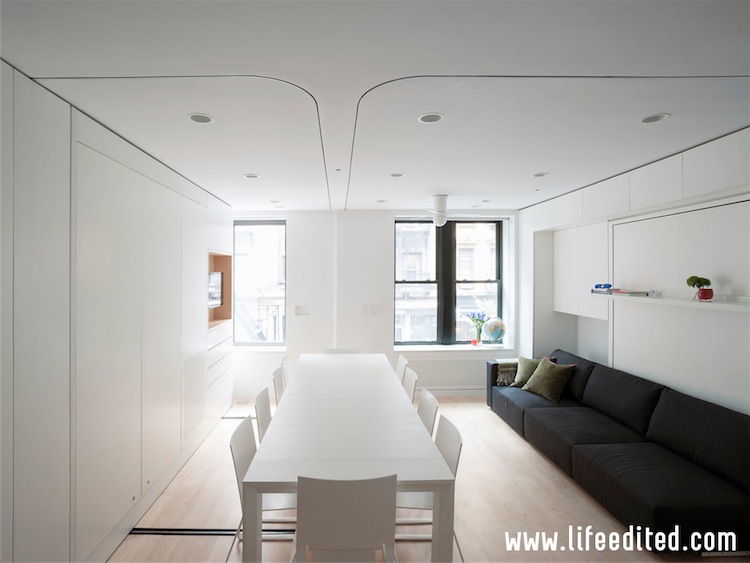
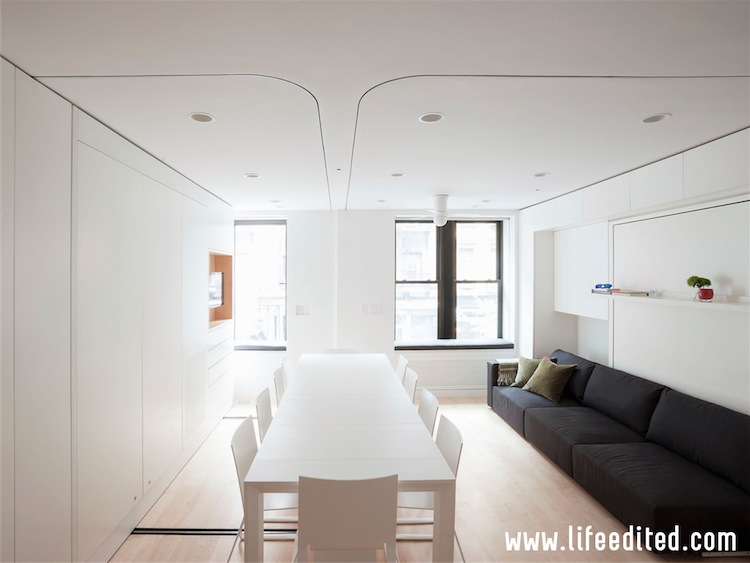
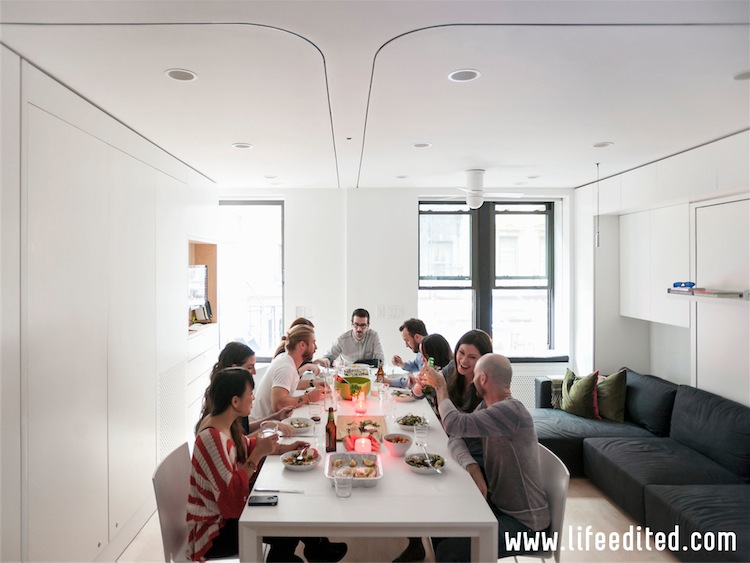
One of the main design criteria for the LifeEdited apartment was the capability to host dinner parties for ten. We chose the Resource Furniture Goliath Table as its ability to expand from 17″-115″ was hard to beat. Seating was more difficult. Though there are many great folding chair options, we wanted something that looked a bit more permanent, so we narrowed our search to stacking chairs. At the time, lifeedited.com wasn’t much to look at, so we had our friends at Treehugger do a roundup of stacking chairs.

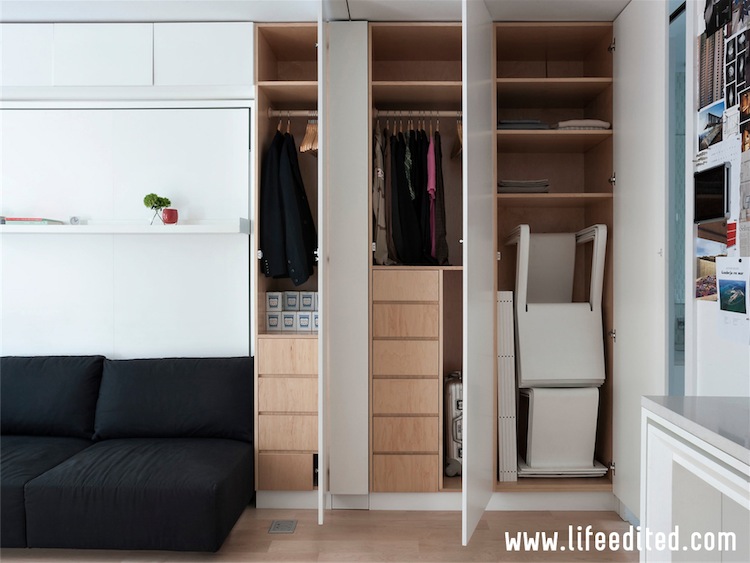
While there were a number of great options, none were as aesthetically or functionally appealing as the Eco by Voxia. It matched the look of the apartment perfectly. Most important, the chairs stacked extremely tight. The surface is a mere 9mm thick; with protective pads 13mm. There is a negligible gap between chairs when stacked. This tight fit allowed us to fit all ten chairs in one cabinet.

bild6

LifeEdited-South-Wall-Storage

The chair is one piece of compression molded beech plywood, which the company claims uses 1/8 the amount of wood of most conventional chairs.

The chairs are quite comfortable. Though we must say that the seat portion, which is about 15″ wide, favors the slimmer set.

Unfortunately, the Swedish chairs do not have a US distributor just yet. Pricing ranges from about $350 for the beech finish version to $426 for painted versions (pricing is approximate as there is no official US price list). While this was actually middle-of-the-pack pricing for a number of the designer chairs we looked at, it’s admittedly a good chunk of change.

What is unique about the Eco chair is that it marries high design with space-saving features. The current paradigm suggests that if you want high design, you probably have a big home and don’t need to worry about space efficiency. We’d love to see more exquisite furniture like this for a new breed of home where efficiency and high design go hand in hand.

Fair Companies Turns Camera on LifeEdited Apartment

Fair Companies is by far the most comprehensive source for videos of great small space homes. That’s why we’re really excited to have the LifeEdited apartment featured on their site. Kirsten Dirksen, who runs Fair Companies, did this profile last month.

Some of the best parts are the “before” pictures of the space taken two and one years ago–the first as a beat-up four room apartment and then post-demolition when it the space was stripped to the joists. Contrasting those scenes with what it looks like now is pretty dramatic.

This is actually the most thorough tour of the space to date as it goes through every corner and most every feature of the apartment. It shows that a living/lived-in, peering into Graham Hill’s wardrobe and showing a recent 10 person dinner party.

What Happens When Beer and Transforming Apartments Mix

A couple weeks ago, we had Derek “Deek” Diedricksen and Paul Farr from Tumbleweed Tiny House Company stay at the LifeEdited apartment. The pair were in New York City leading a tiny house workshop showing people how to make their own tiny houses. We wanted to know what they thought of the place. They videoed this self-guided tour that gives their thoughts on the apartment (their enthusiasm might have been helped out by a beer or two).

Check out Deek’s blog Relaxshacks.com and Youtube channel for cool pics, videos and news about tiny house construction and living.

Thanks guys!

Very Brief History of LifeEdited

With a recent piece in the NY Times, we thought it would be useful for those new–and not so new–to LifeEdited to create a short timeline with a few key bits of historical information:

2009

Treehugger.com founder Graham Hill bought 2 tiny apartments (420 and 350 sq ft) in the Soho neighborhood of New York City for the express purpose of making them into the smartest, most efficient, elegant small spaces possible, creating a new type of small, awesome home.

2010

With the help of crowd-sourcing platform Jovoto and marketing firm Mutopo, Graham launched a competition to find the world’s best small-space design. Read more about it here.

2011

Romanian architecture students Catalin Sandu and Adrian Iancu win competition with their “One Size Fits All” design.

Graham Hill speaks about the project at the TED conference (1.3M view to date). Rated one of top ideas of 2011 at TED by Huffington Post.

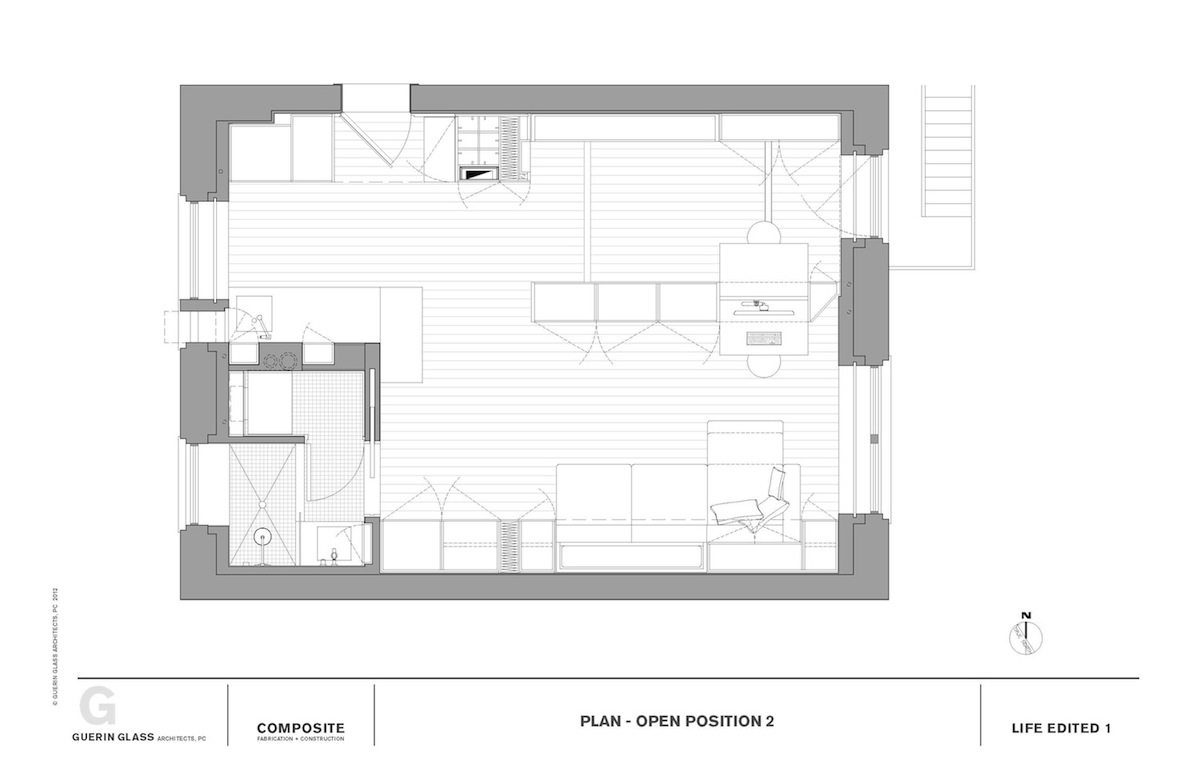
Construction of the apartment begins in October with Brooklyn-based architecture firm Guerin Glass.

2012

Website launches to show the best in “edited” architecture, design and living.

Graham Hill’s apartment completed in May and featured in NY Times, who dubbed it the “Apartment of the Future.”